
If you’ve got something to say, there’s never been a better time to say it into a microphone. Starting a podcast in 2025 doesn’t require a fancy studio, a big crew, or a massive budget. What it does take is intention, some decent gear, and a bit of planning.
It doesn’t matter if you’re recording your thoughts in a closet or building a full setup in your home office, your voice deserves to be heard – loud, clear, and crisp.
Here’s a straightforward guide to building a podcast studio at home, no matter what kind of budget you’re working with.
Pick the Right Spot First
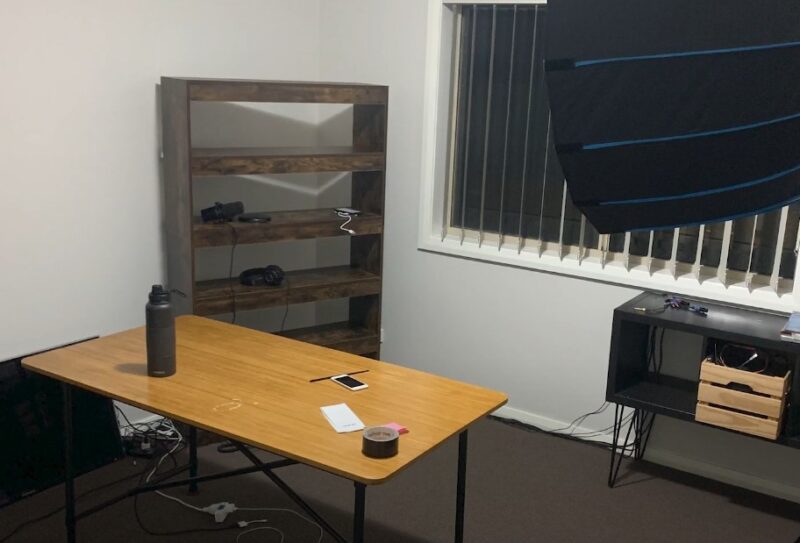
Before you start thinking about mics and mixers, stop and look around your home. The space you choose is going to shape how your podcast sounds. Really. Even the best microphone can’t save you from a boomy, echo-filled room.
What Makes a Good Recording Room?
- Smaller is usually better – Less room means less echo. Think small bedrooms, closets, or offices.
- Weird shapes help – Rooms with alcoves or angles break up sound reflections better than giant rectangles.
- Soft stuff is your friend – Carpet, curtains, couches, rugs… they all soak up sound and cut reverb.
- Keep it quiet – Stay away from fridges, windows facing busy roads, HVAC vents, or anything else that hums, buzzes, or clunks.
No Extra Room? No Problem
If all you’ve got is a closet, you’re still good to go. Hanging clothes? Perfect natural sound absorbers. Add a little mic stand and close the door. Done.
If you’re aiming high, a finished basement or a guest room works great. And yes, you could rent a studio, but at $60 to $100 an hour, that adds up fast if you’re recording regularly.
Quick win: Throw a rug on the floor, hang a blanket over a wall, and you’ll already notice a difference.
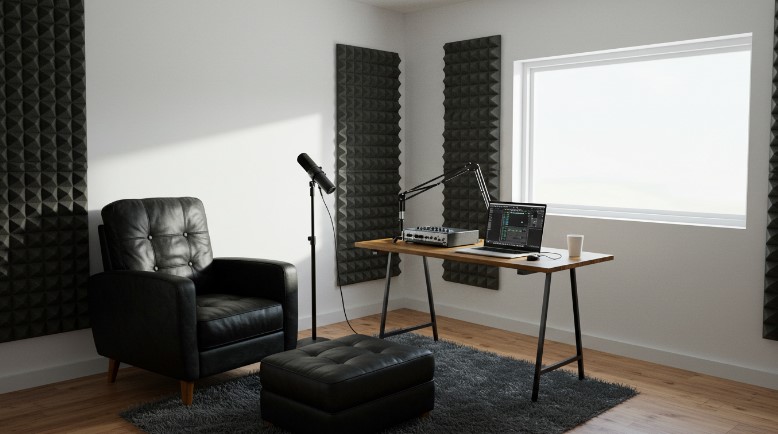
Treat the Sound Before You Hit Record
Soundproofing and sound treatment are often mixed up, but they’re not the same thing.
Soundproofing (If You Need It)
This is about keeping outside noise out and your voice in. It’s the expensive part—think mass-loaded vinyl, sealing doors, double drywall.
Most home podcasters skip it, and that’s fine unless your neighbour mows the lawn every day.
- Mass-loaded vinyl: $100–$200 for a small room
- Green Glue (used between wall layers): Great, but only if you’re building or remodeling
- Foam gaskets: Seal door and window gaps
If you’re not in a particularly noisy place, you can probably skip all that.
Sound Treatment (Don’t Skip This)
This is where you win the audio game. It’s about taming reflections, echoes, and weird room tones. And you don’t need to spend a fortune.
DIY Options:
- Thick blankets on walls
- Pillows in corners
- A mattress leaned against the wall (seriously)
- Fully stocked bookshelves
Pro Options:
| Product | Use | Approx. Cost |
| Auralex LENRD | Bass traps for low frequencies | $199.99 |
| Auralex SonoFlat Panels | Mid/high frequency absorption | $144.99 |
| T’Fusor 3D Diffuser | Scatters sound to avoid buildup | $77.99 |
Don’t want to splurge yet? Grab some moving blankets ($20–$30 each) and hang them behind and beside you.
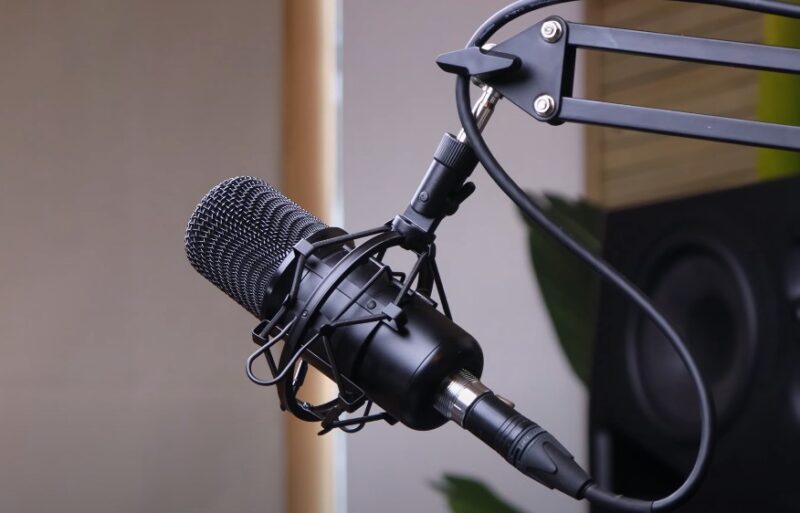
Mic Placement Tip: Keep the mic 6–8 inches from your mouth. Close miking helps kill room noise fast, even in echoey spaces.
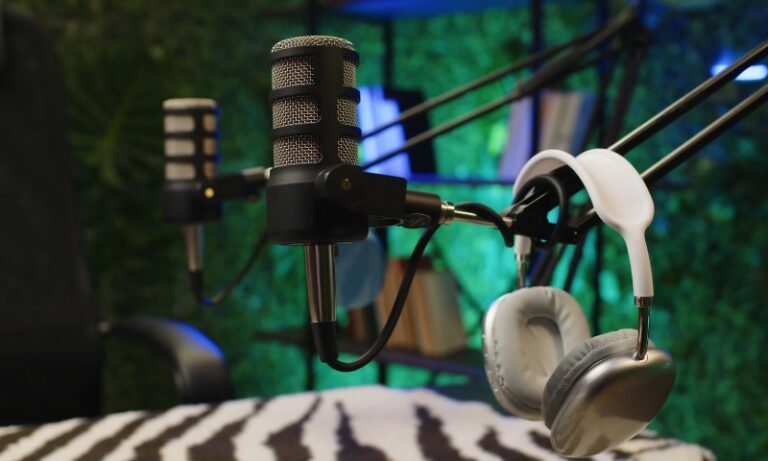
Gear That Gets It Done
Let’s break the equipment down into categories—and give you real options for any budget.
Microphones
| Budget | Mid-Range | Professional |
| Samson Q2U ($126) | Rode NT-USB ($165) | Shure SM7B ($439) |
| Blue Yeti ($132) | AT2035PK ($199) | Shure MV7 ($249) |
Dynamic = better for noisy or untreated spaces.
USB = plug-and-play. XLR = pro setup, needs interface.
If you’re starting out, get the Samson Q2U. It works as both USB and XLR, so you can grow into it.
Audio Interface (for XLR mics)
- Budget: PreSonus AudioBox USB 96 – $99.99
- Mid-Range: Rode AI – $122
- Pro: Zoom PodTrak P4 – $199.99 (great for multiple guests)
Headphones
| Budget | Mid-Range | Professional |
| Skullcandy Grin ($55) | Sony MDR7506 ($108) | DT 770 Pro ($159) |
| LyxPro HAS-10 ($55) | ATH-M50x ($149) | Bose QC35 ($179) |
Closed-back headphones are best—they keep your audio clean and don’t leak sound into your mic.
Accessories
- Pop Filter: Nady MPF-6 ($24.95)
- Mic Stand: Rode DS1 Desktop Stand ($26)
- Boom Arm: Keeps desk clear and mic steady
- Shock Mount: Reduces desk bump noise
- Reflection Filter: For untreated rooms—sE Reflexion Filter PRO ($199)
Budget Tip: Skip the extras at first. A USB mic and decent headphones will get you started.
Software (Recording and Editing)
Good audio still needs a good polish. Editing helps fix volume issues, remove background noise, and trim awkward pauses.
Free Software (Good for Starters)
- Audacity (Windows/Mac/Linux): Free, solid, simple.
- GarageBand (Mac only): Great for beginners, better interface.
Paid Software (If You Want More Control)
- Reaper – $60 license, ultra-customizable.
- Hindenburg Journalist – $99, made for podcasters.
- Adobe Audition – For pros, part of Adobe Creative Cloud.
- fm – Records remote interviews with high-quality video/audio.
Tip: Don’t overthink it. Start with Audacity. You can always level up later. If you’re editing for YouTube too, learning how to make YouTube channel searchable can help you maximize each upload’s reach.
Setting It All Up
Here’s where it all comes together.
Cable Chaos? Not Here
Use cable ties or Velcro wraps to keep cords neat. Nobody wants to trip mid-recording.
Furniture Matters
- Chair: You’ll be sitting for a while. A good ergonomic chair like the SIHOO ($309) helps.
- Desk: Sturdy, quiet, and enough space for gear and notes.
Mic Positioning 101
- 6–8 inches from your mouth
- Pop filter in between
- At mouth level (not chest, not forehead)
Always Wear Headphones
Monitor your sound as you speak. It’s the fastest way to catch problems like buzzing, popping, or low volume.
Do a Test Run
Record 1–2 minutes and listen back. Check for:
- Echoes or reverb?
- Weird hums or buzzes?
- Volume too low or too hot?
Tweak placement or add treatment as needed. You’ll know when it sounds right.
Hosting + Distribution
@thedylanschmidt Let’s talk about free (Spotify for Creators) vs paid (Buzzsprout) podcast hosting platforms. The pros and cons and everything in between. #podcasting #howtopodcast #podcasts #podcastingtips ♬ original sound – Dylan Schmidt
You’ve got episodes. Now you need to get them out there.
Why You Need a Hosting Service
Your podcast files need a home. Hosting services:
- Store your audio
- Generate an RSS feed
- Push episodes to Spotify, Apple Podcasts, Google, and more
- Give you analytics (super useful)
Recommended Hosts
| Host | Why It’s Good | Starting Price |
| Castos | WordPress integration, YouTube republishing | $19/month |
| Transistor | User-friendly, great analytics | Varies |
| Buzzsprout | Simple setup, auto distribution | Affordable |
| Libsyn | Tried-and-true classic | Varies |
Pro Tip: Look for a host that gives you audience stats. You’ll want to know who’s listening, from where, and how often.
Bonus Tips for Going Pro (Eventually)
- Start small: Don’t wait for the “perfect” gear. Launch with what you’ve got.
- Do frequent tests: It’s the fastest way to improve.
- Use what you have: Blankets, bookshelves, and closets are legit acoustic tools.
- Want video too? Try the Sony ZV-E10 or Lumix S5 with soft lighting and a clean background.
- Keep learning: Podcasting’s a skill—editing, storytelling, mic technique. You’ll get better with every episode.
Real-World Example
Some of the biggest names in podcasting started in closets or spare rooms, no joke. Many use a Samson Q2U or ATR2100x with free editing software like Audacity.
Eventually, they upgrade to the Shure SM7B and full-on studio builds with acoustic panels and mixers. But no one starts there.
Final Thoughts
Building a home podcast studio isn’t just doable—it’s rewarding. You’re creating a space where your voice matters
Whether you’re talking solo, hosting interviews, or telling stories, you deserve to sound your best. Don’t let gear or budget stop you. Grab a mic, find a quiet spot, and start recording.
Podcasting isn’t about perfection; it’s about connection. And your home studio? It’s where that connection begins.